There is something magical about a model train circling a Christmas tree, but space is always the final frontier for enthusiasts. This year, I decided to go “limitless” by moving a holiday project into the digital world using Rolling Line.
After a full year of tweaking, detailing, and testing, I’m thrilled to finally share the video of my completed Christmas layout in Rolling Line.
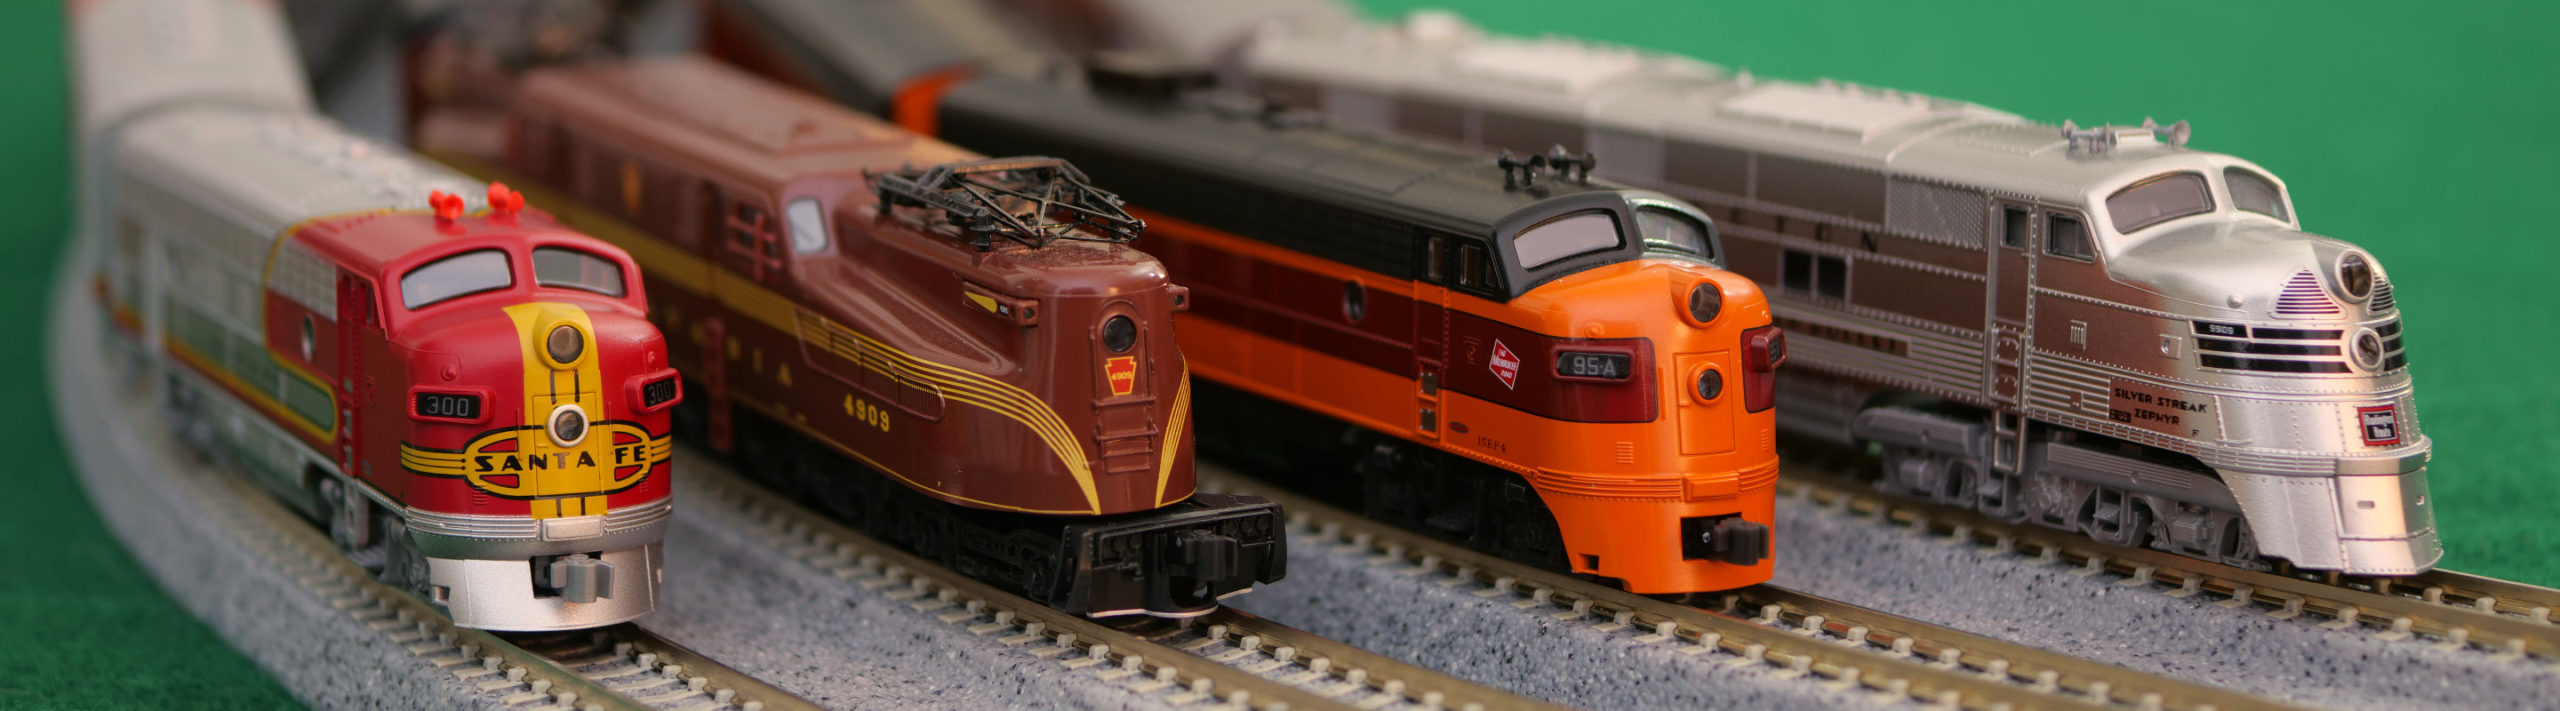
Why Rolling Line?
For those unfamiliar, Rolling Line is a model train sandbox simulator available on Steam ($16.99). It’s more than just a simulator; it’s a creative powerhouse. Whether you want to run a pre-built route or start from a blank canvas, the software offers:
- Total Customization: Every piece of track, tree, and building can be moved or modified.
- Massive Scale: You can build anything from a tiny tabletop loop to a sprawling empire.
- Immersive Experience: Run it on your PC or jump into VR mode to walk around your layout as if you were 1:87 scale yourself!
- Hands-on Control: Hop into the cab of your favorite engine to blow the horn, toggle the lights, and manage the throttle.
A Layout of Epic Proportions
I started this specific Christmas build last January. The layout features six primary tracks. Inside the purple loop, you’ll find a reverse loop, offering a unique feature, but that’s just one of many ways to reverse a train on this setup. The tracks are interconnected in several places, allowing seamless movement of trains between loops. This intricate network of connections gives operators plenty of flexibility in how they can navigate trains across different parts of the layout.

The Christmas trains used in this layout are part of the holiday package included with Rolling Line. While it has that cozy holiday feel, the scale is anything but small. To give you an idea of the size:
The two outer loops in this layout are each more than two miles long. The video shows the trains going 22mph so a lap takes about five and half minutes.
On another layout, one of my main lines takes 30 minutes to complete a single lap at 62 mph. That’s a 31-mile journey through a winter wonderland!
I wish I had the physical room in my house for a layout this size, but that’s the beauty of this hobby—digitally, the only limit is your imagination.
If you would like to test out this Christmas layout, you can download it from the Rolling Line Workshop. Look for the layout called Christmas 2025-12-21.
I’d love to hear what you think of the layout! Are you a fellow virtual conductor, or do you stick to the physical rails?
- Visit the Site: TrustyTrainTracks.com
- Get in Touch: conductor@trustytraintracks.com
Merry Christmas and Happy Railroading!


